Product Photo Shoot Tips

Share on facebook
Share on twitter
Share on linkedin
Share on pinterest

Call me crazy– we’re just barely into spring here in the D.C. area, but I’m already starting to think about the fall. We’re not quite in full-on cozy, earthy-toned, chocolate-filled product development mode juuuust yet, but it won’t be long before our fall line starts coming together and we’re scheduling photo shoots and updating our line sheet.

You know how it goes! Especially if your products are in retail outlets (or you’re working on getting into your first shop!). Many retailers plan their product lineups two quarters out, if not more. Which means maybe May isn’t such a bad time to be thinking about October after all. 🙂

What are you preparing for these days? A product launch for one of the summer holidays? The back-to-school-rush? Do you have your product photos looking sharp and ready to go?

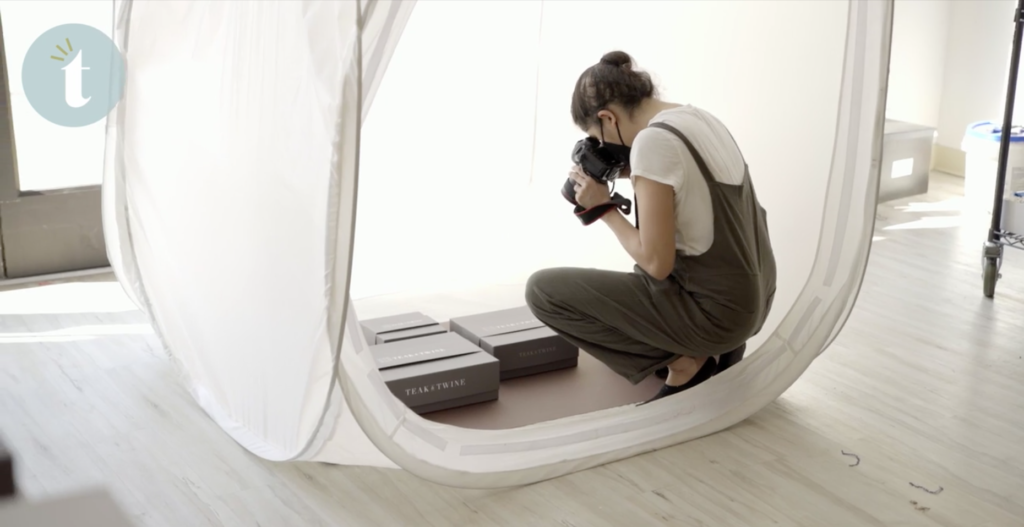
In the early days of Teak & Twine, I shot all of our product photos myself on my iPhone camera. Yep, even the images on our website! Do you do this, too? It’s really incredible what you can achieve with your cell phone these days!

Over the years, though, we’ve shifted to using a professional photographer for the vast majority of our product photography, which has our products looking better than ever.

I get it, though. Professional photography can be expensive. We’ve definitely made our fair share of costly mistakes along the way! But those mistakes have taught us a ton, and now we know exactly how to prepare for and efficiently run and awesome photo shoot.

And you know what? So, SO much of it comes down to the preparation before the shoot and investing in a couple key items!

If you’re thinking about working with a professional photographer for the first time, or if you’re simply looking to make your photo shoots more efficient and more productive, here are my top tips:

1. Use a lightbox

Lightboxes are like magic! They diffuse light beautifully, so you don’t see shadows in your photos. Better yet, they eliminate the need for a lot of professional photography equipment– even our professional photographers love ours and use it when they come to shoot our products (as you can see above!). 

2. Invest in photo mat boards

Custom framers use mat boards to frame pictures and artwork– we like to use them as photo backdrops! You can easily find a multi-pack of these boards on Amazon for right around $100. They’re super thick and also large, so they work really well for flat lays– either vertical or horizontal! Another bonus is mat boards are matte, so they won’t reflect lighting or a flash in your photos. So key!

3. Strategically lay out your products, before your photo shoot begins

This one sounds so simple, but I can’t tell you how many times in the pas we would run a photo shoot on the fly. With no concrete plan, we’d be running around grabbing things in the moment, all while our photographer stood there waiting on us. It was chaotic! And stressful. And it meant our photography sessions could go on for hours. What were we thinking?!

If you want to set the tone for a smooth, stress-free shoot (not to mention less expensive– most photographers charge by the hour, so you don’t want to spend that valuable time not taking photos!), put in the effort ahead of time. It really only takes a few minutes to make a plan for the photo shoot and get your products lined up and ready to go– and it will pay off big time!

4. Shoot photos near natural light

Did you catch that small but important word, “near?” You’ll want to avoid taking photos in direct sunlight, which can result in a lot of harsh shadows surrounding your products. And artificial light (like fluorescent overhead lights or light from lamps) reflects poorly in photos. Your best bet is to set up your light box near a bright window for the most natural effect.

5. Recruit some helping hands

You’ll never regret having a little extra help on photo shoot days! If you can, designate a team member (or ask a friend or family member!) to help keep you organized and on track. I always love having someone there to  get each product we’re photographing ready for the photographer, while the photographer is snapping photos of the previous item. This process really helps speed up the entire session and also keeps our products looking their best!

Finally, since you all are always asking for more behind-the-scenes footage at Teak & Twine, I filmed a video for you last time our photographer was in– so fun! In the video you’ll get to see all of my photo shoot tips in action, including how we use the light box and photo mat boards! You can check out the video here. 🙂

What other photo shoot tips do you have? Are there any products you swear by for awesome photos? I’d love to know!

xx,

Did you think this blog post was helpful?

 Feel free to pin, share, or bookmark!

Share on facebook
Share on twitter
Share on linkedin
Share on pinterest
Ready to team up?

Let's hang out:

My Courses

I teach one thing: how to launch and grow your product-based business.

Tune In On YouTube

My best videos with tips for product-based businesses and behind the scenes peeks at what’s happening at Teak & Twine!

HHP.TorranceHart2019-7

Join My Email List

My weekly emails are the heartbeat of this community- with all of my best tips & strategies for growing your business.